NavvTrack Fleet Management User Guide - Web & Mobile App
Getting Started: Web Setup
NavvTrack is designed to enable teams to manage groups of shared devices. It is best if you have these groups pre-configured in your MDM prior to using NavvTrack, but if you have at least one group you can get started.
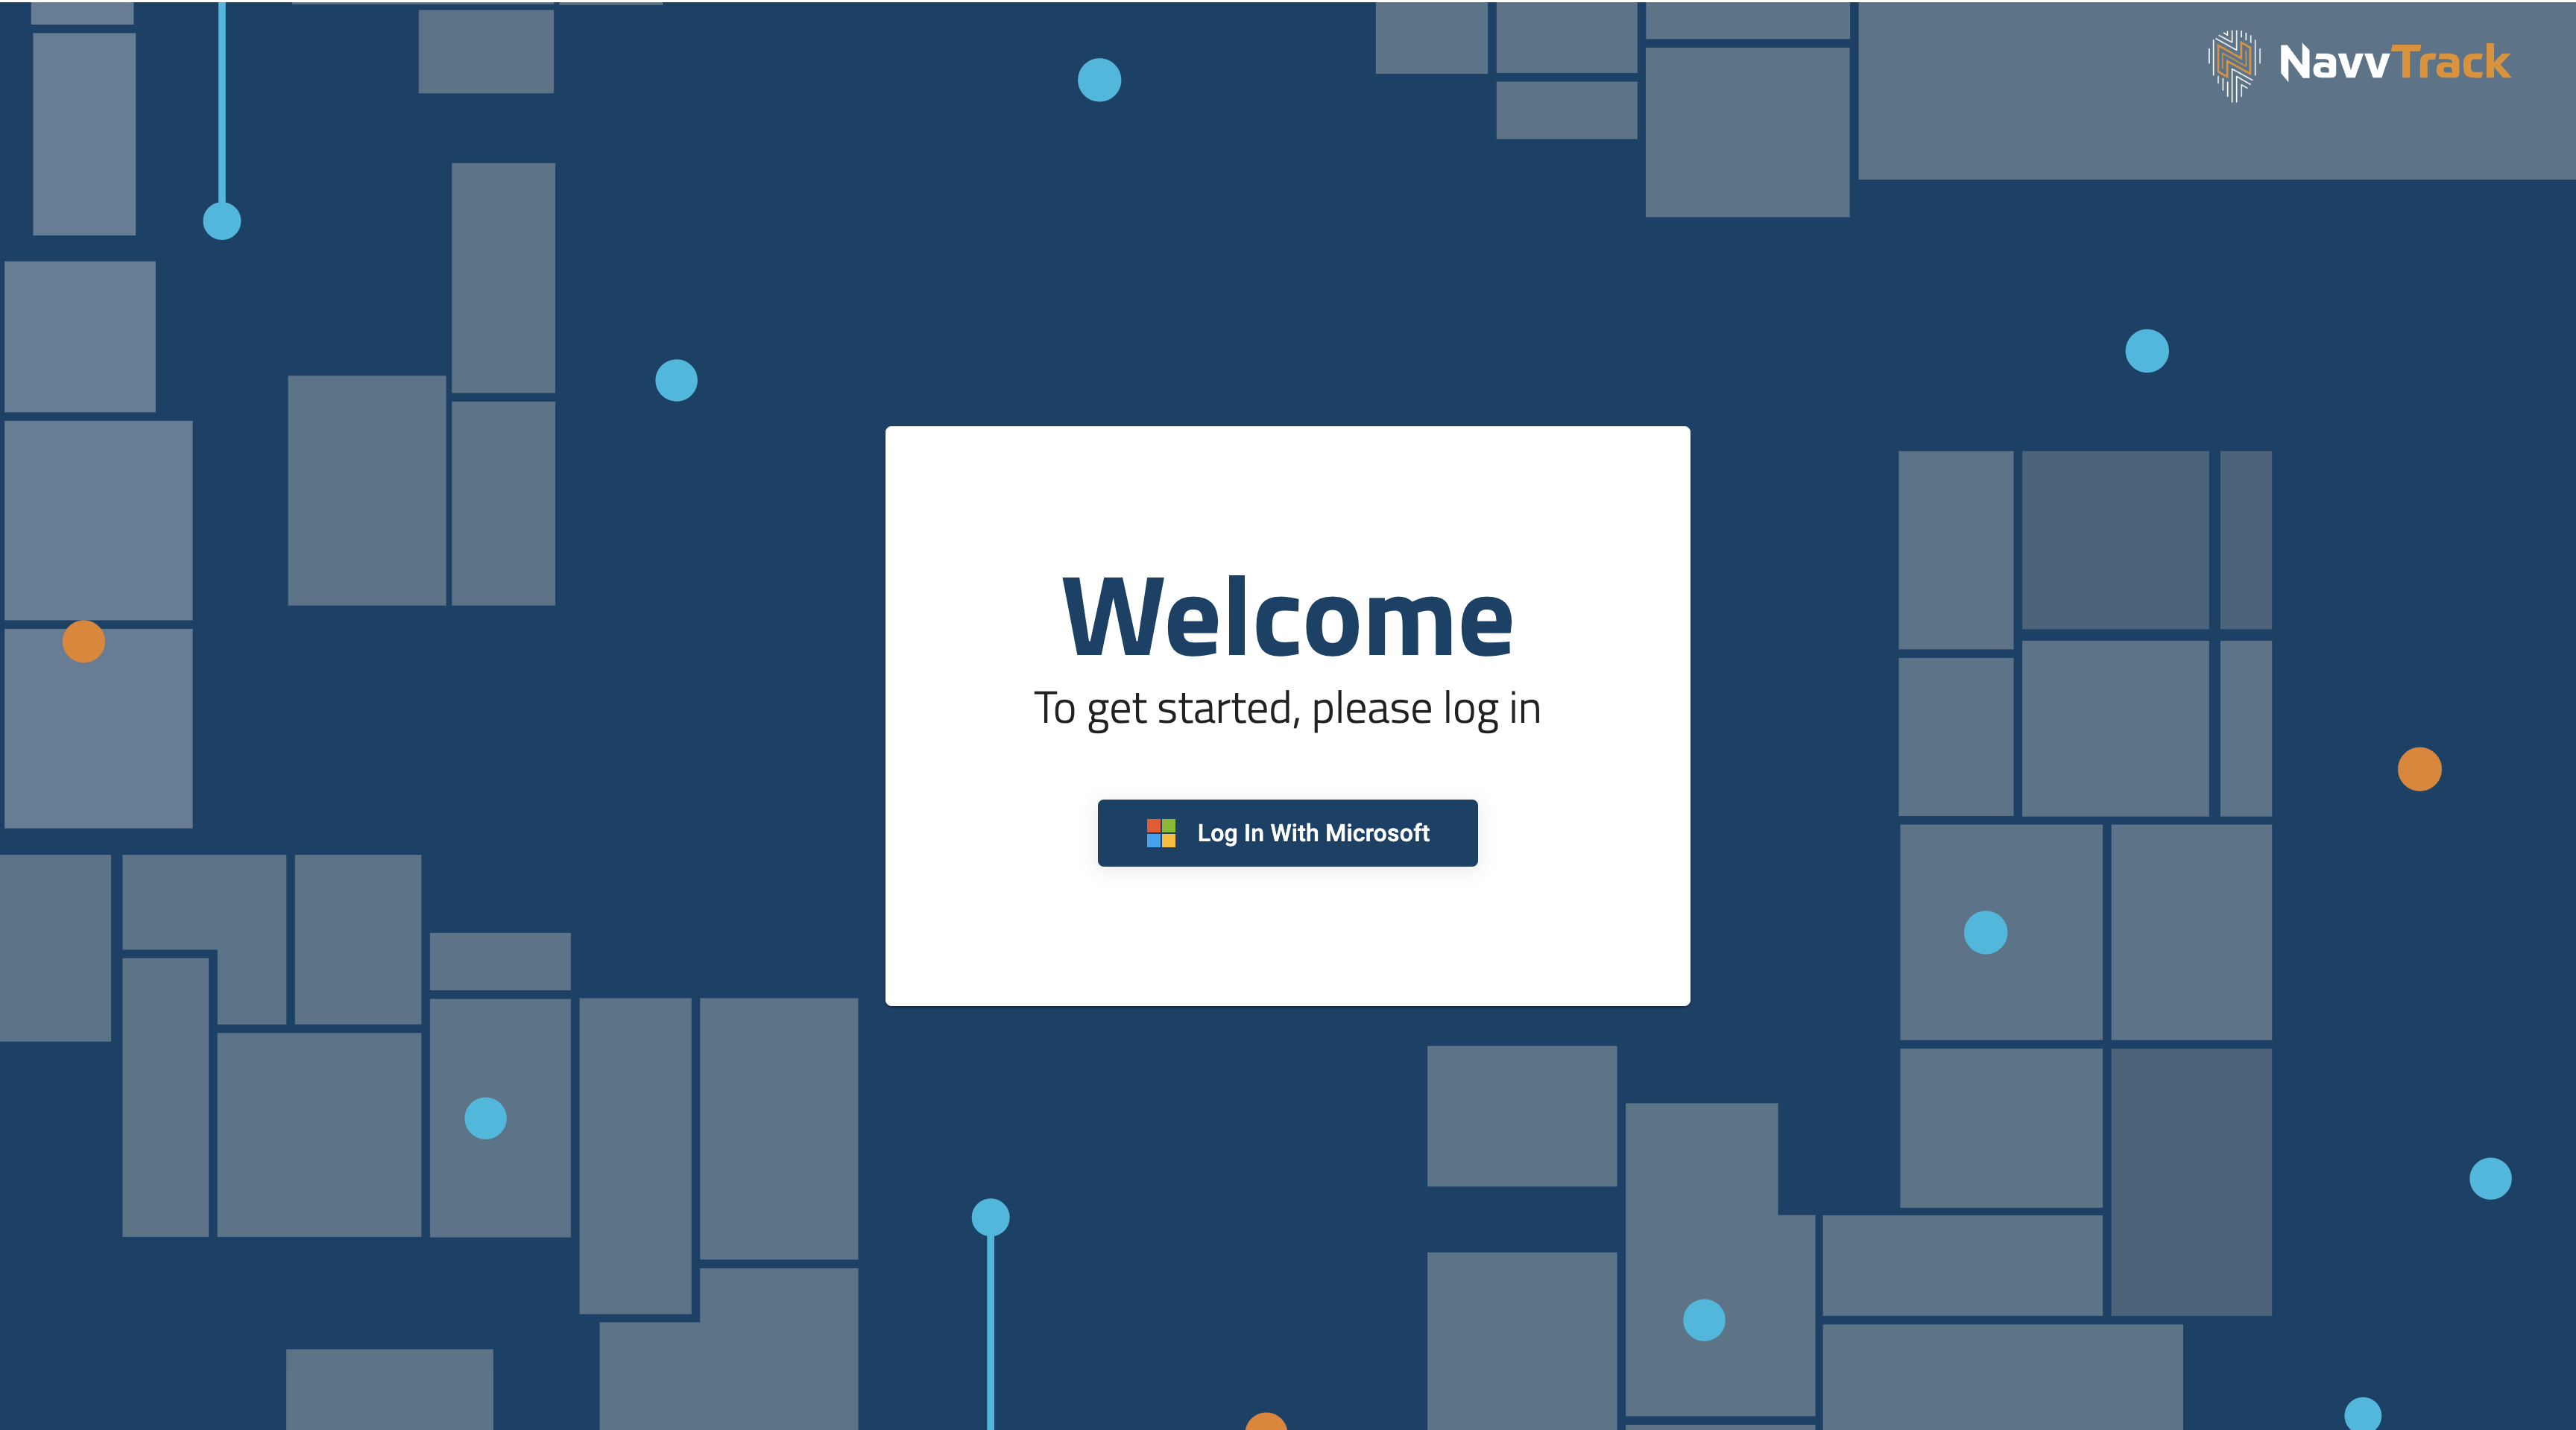
To get started, users will log in to the web console version of NavvTrack.
1. Log into NavvTrack by clicking Log in with Microsoft. It should automatically log you in with your corporate account (it may take you to the Microsoft prompts to enter your corporate email and password).
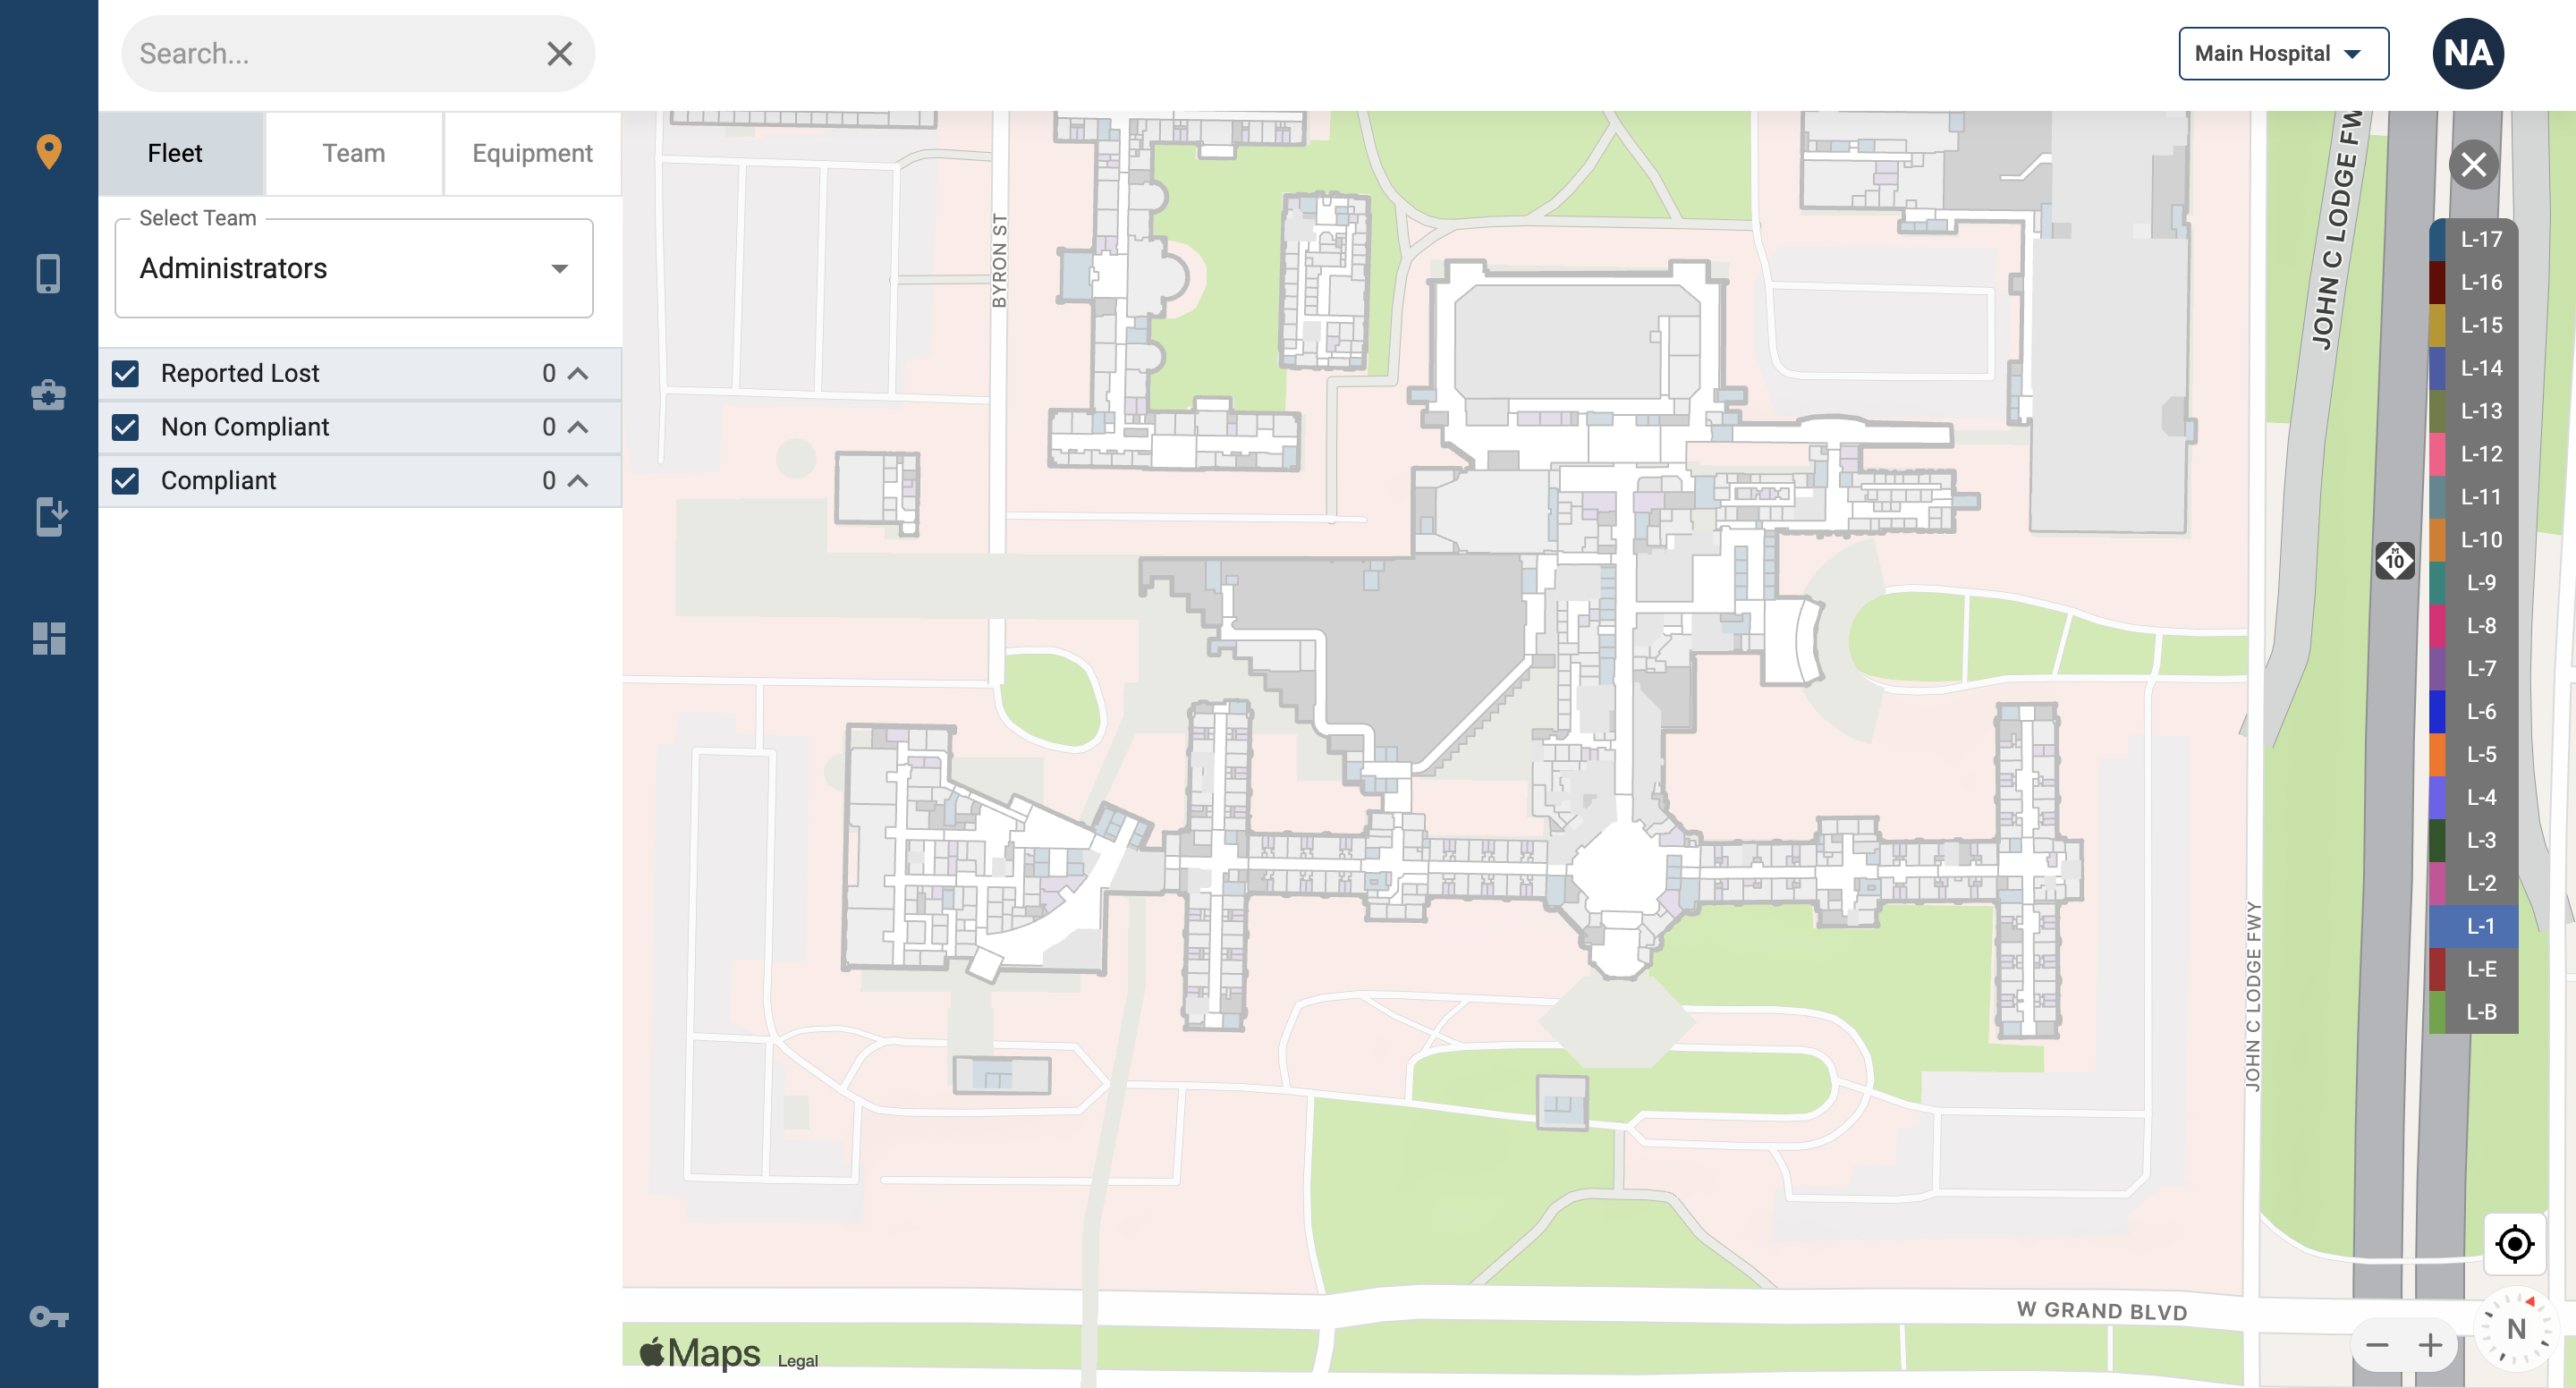
2. Upon login, you will see the Map view.
Team Creation
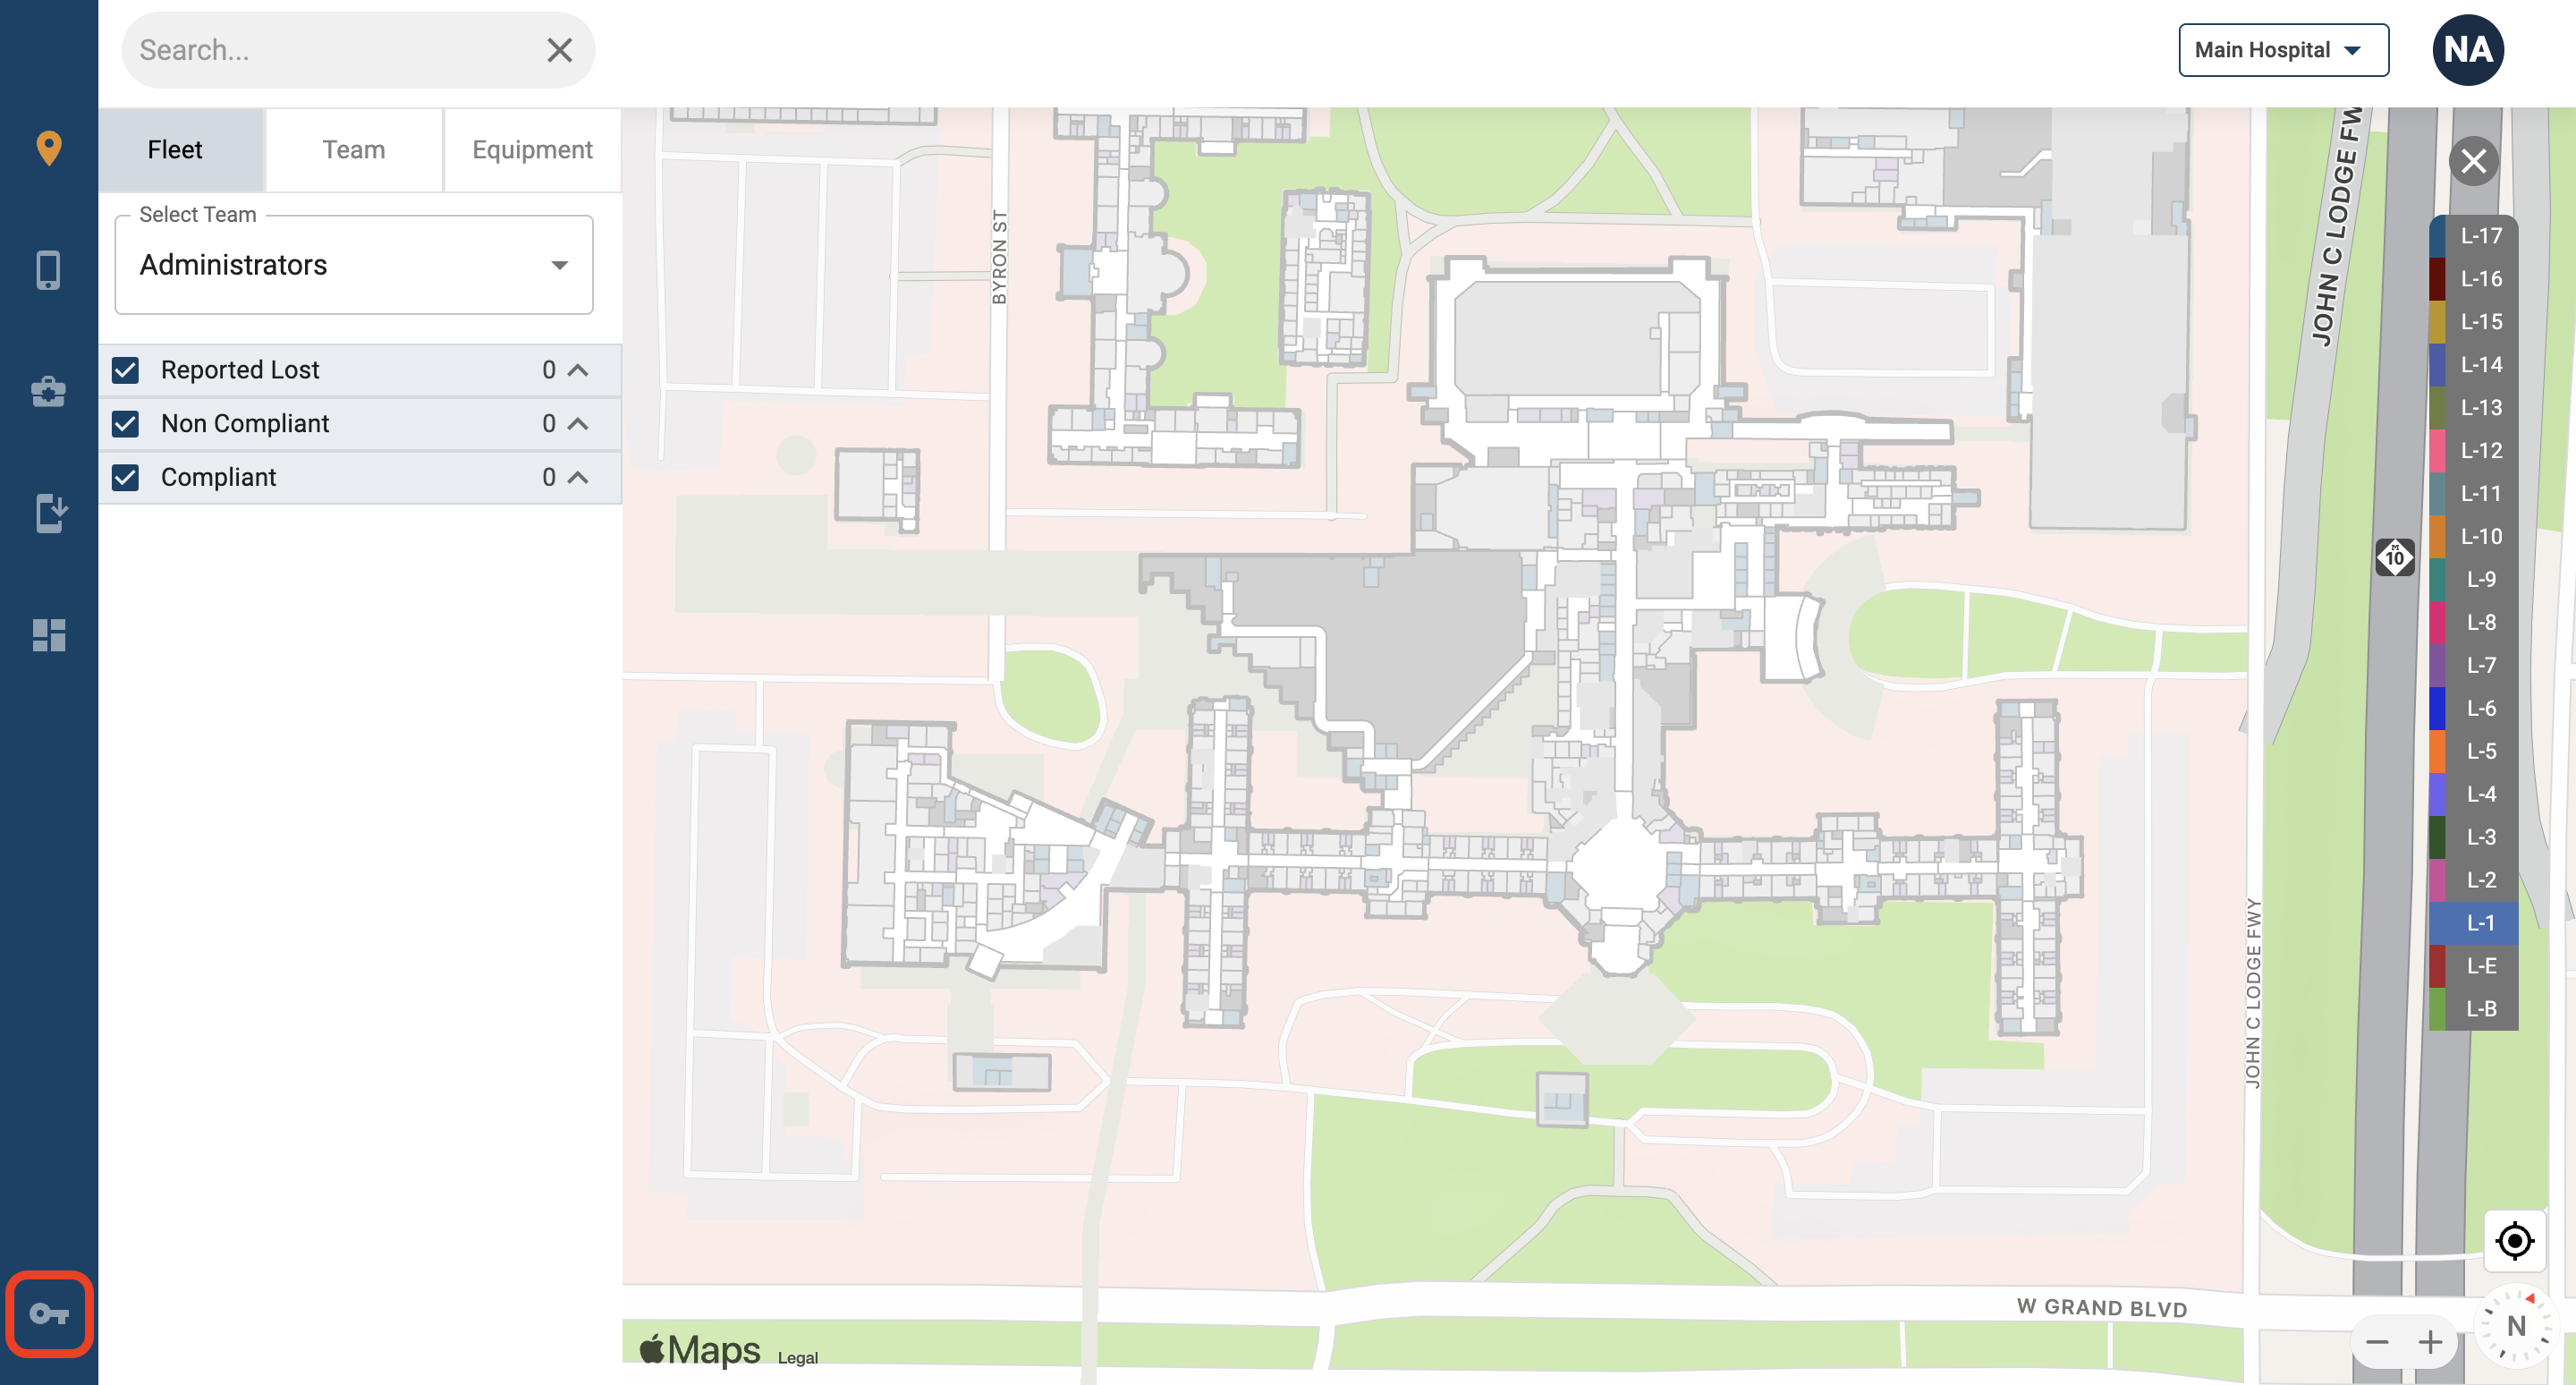
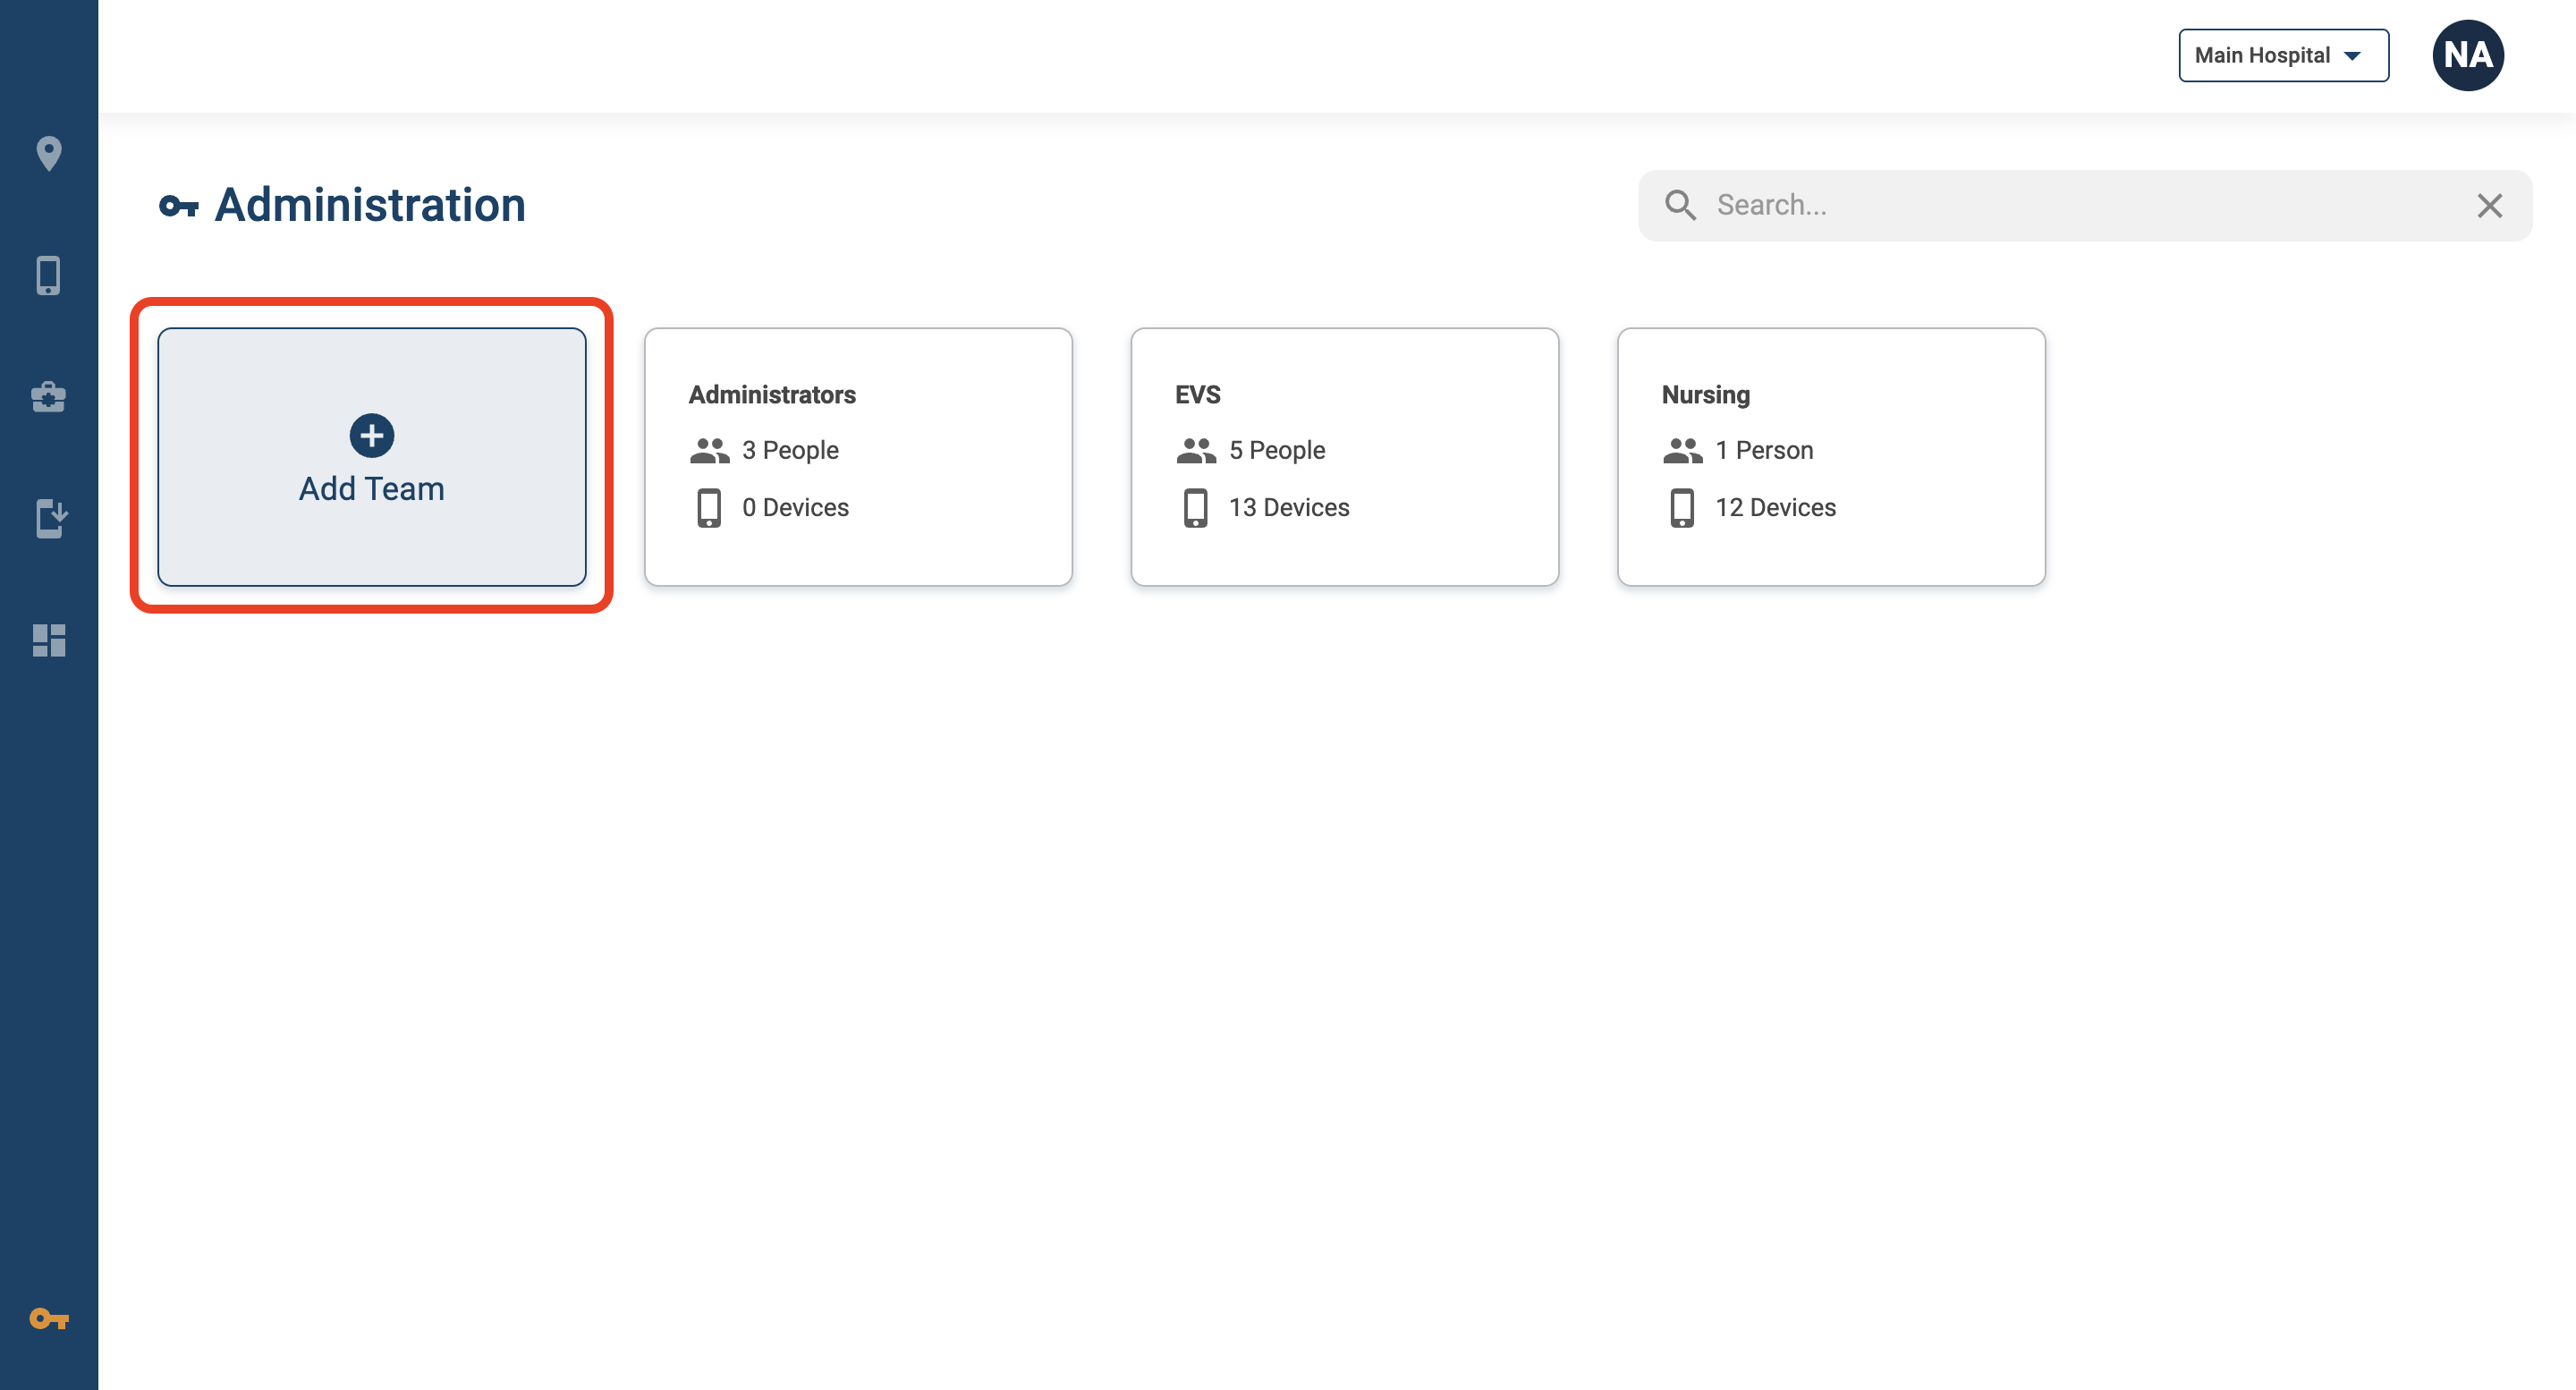
Creating teams allows you to connect your MDM-configured groups to NavvTrack. To create a Team, click on the Key in the lower left corner. This will load a page where you can create new teams, or change the settings of existing teams.
If you are an administrator setting up NavvTrack for the first time, please reach out to Navv to confirm your instance is ready. If NavvTrack has already been set up for your team, contact your administrator managing NavvTrack to confirm you have been added to a team and that your account is ready for use.
Creating a Team
1. Click the + Add Team card.
2. Choose which campus the team should be associated with. The campus that is showing when you are logged in will default as the primary location, and this can be changed if needed. 3. Select a Device Group. These groups are created and managed within your MDM. More information about this can be found in the MDM Setup Guide. 4. Give the team a name, either by typing the preferred name or checking the "Use Device Group as Team Name" box. 5. Select whether you want to enable team members to log into the Navv mobile application. This can be done later as well, and is not required for initial setup.
Device & NavvTrack Mobile App Provisioning
Phone & NavvTrack App Configuration Guide
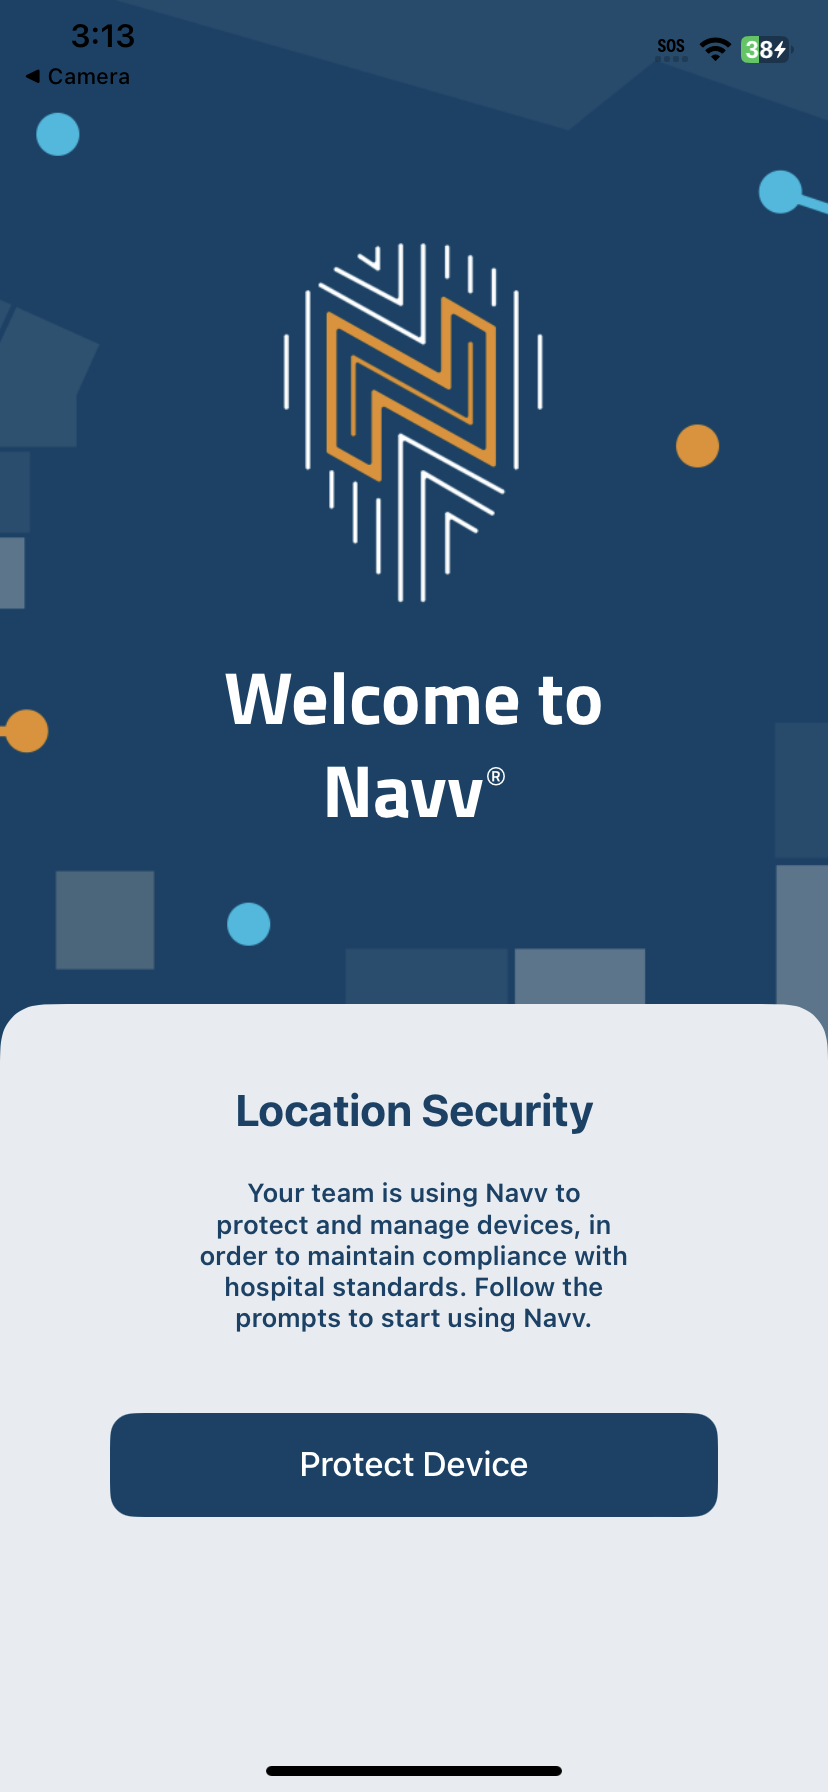
1. Connect the device to Facility Wifi. 2. Confirm the Navv application is on the device you are setting up. 3. Open the Navv application on your device. 4. The application will display the "Welcome to Navv" screen. Below this, there should be a “Protect Device” button.
5. Click “Protect Device.” 6. This should lead to a screen with all of the required permissions.
7. Click Continue to proceed. Follow the prompts to enable permissions for the NavvTrack App. 8. All permissions must be accepted for device to labeled as “compliant”. 9. Click “Finish.” 10. A screen should show that the device is now provisioned.
The NavvTrack App will be pushed to your devices through your MDM. You should only need to provision devices upon initial setup. If a device is moved to a new MDM group associated with a NavvTrack team, the NavvTrack application will need to be relaunched. In order to do this, terminate the app by swiping up into the app tray, and then swiping the NavvTrack app out of the tray. Once this is completed, open the app to confirm the new team information is present and is ready for use.
Troubleshooting: No Team Assigned Message
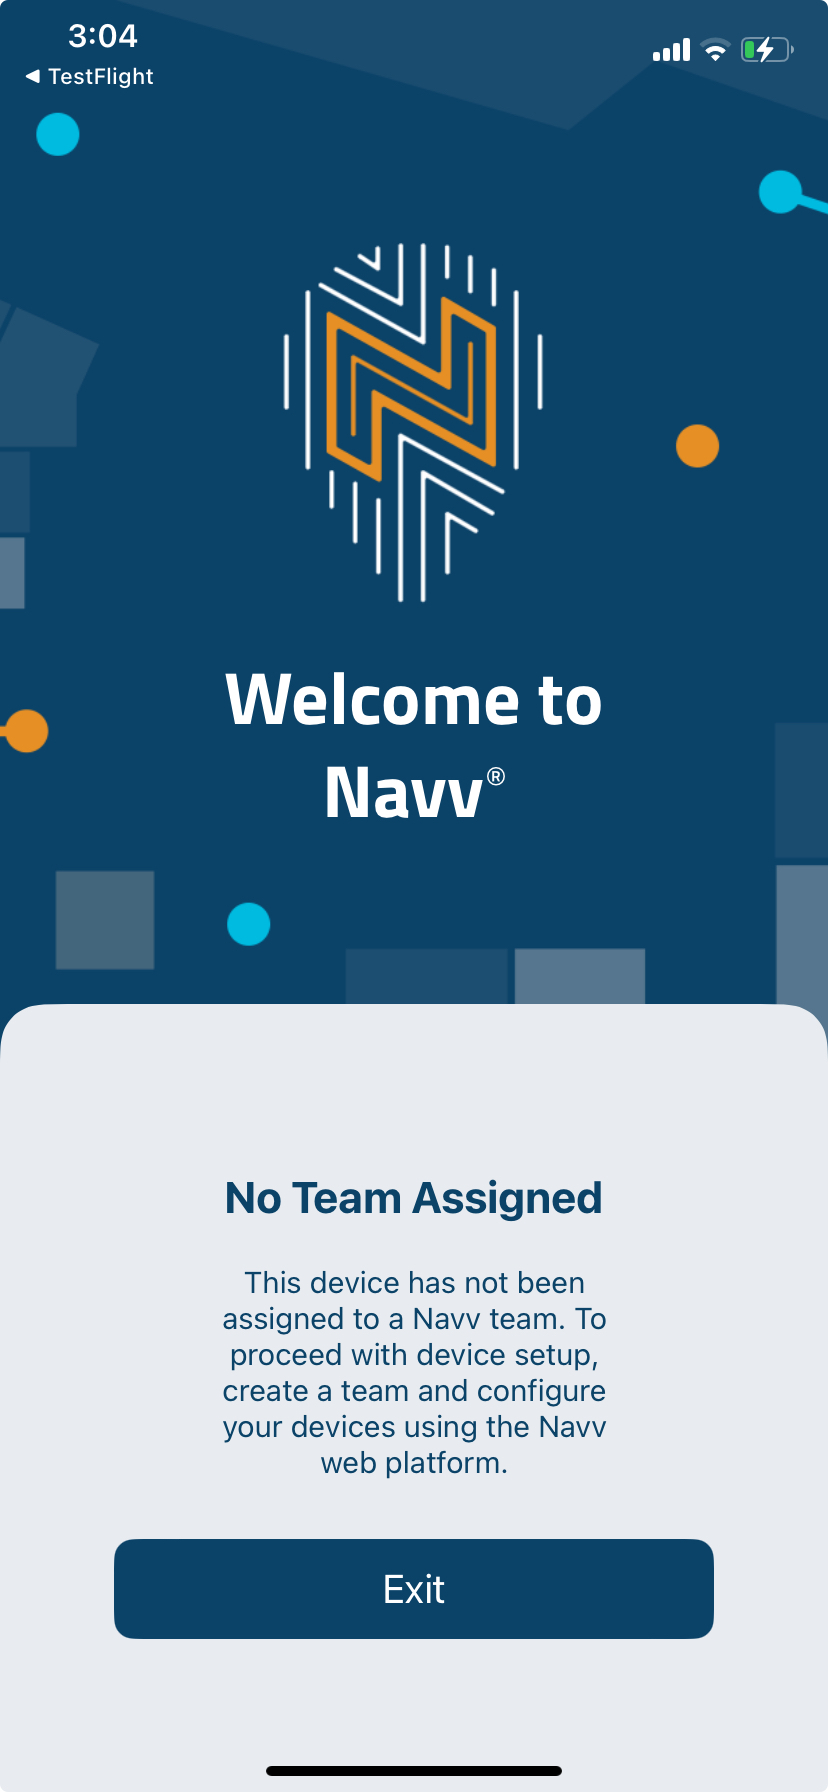
If you open the NavvTrack App and see the below message “No Team Assigned”, please contact your Administrator to create a team and assign the device to the appropriate team.

.PNG)